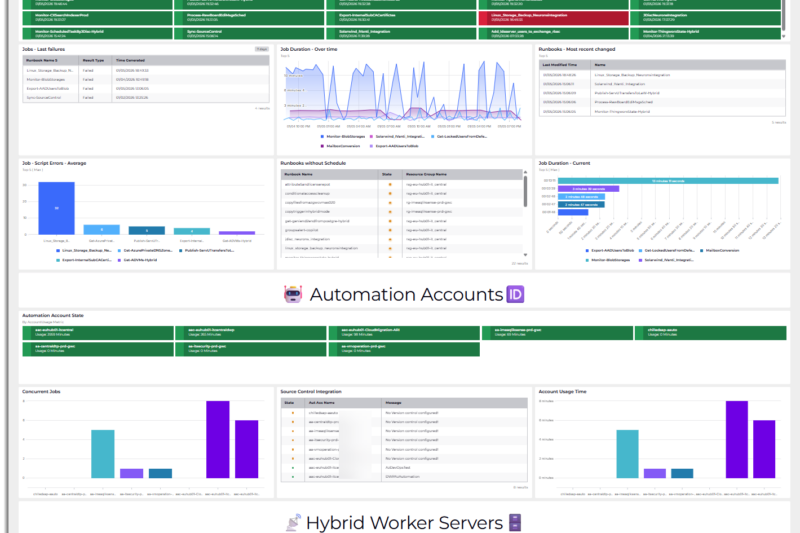
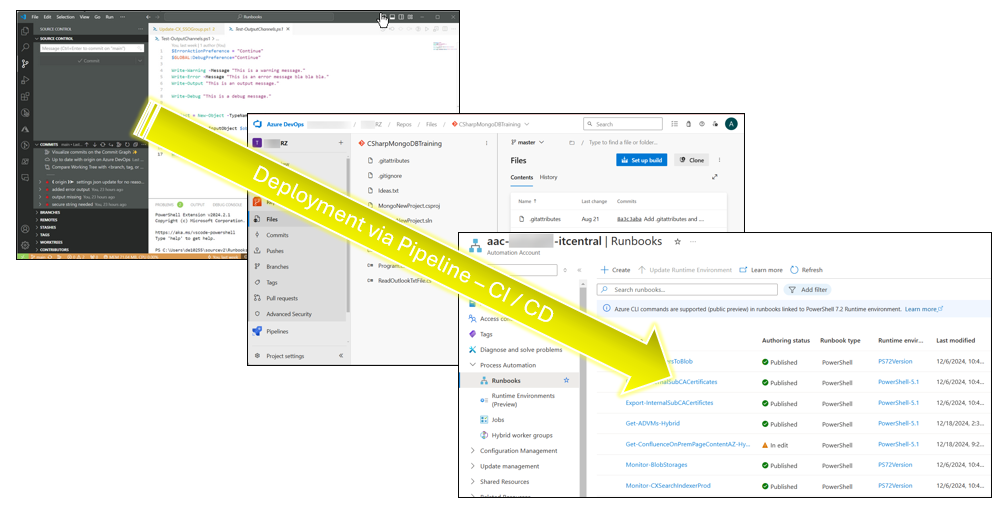
Connect Azure Automation to Azure DevOps as script repository

Azure Automation provides seamless integration with Azure DevOps and other Version Control Systems. Having change-tracking and backup & restore capabilities is a blast!

This first blog covers workstation preparation, creation and initial setup of Azure Automation and the connection to Azure DevOps.

Permissions to created resources in Azure, administrative permissions on Azure DevOps organization and permissions to create Enterprise Applications in EntraID are needed to perform the next steps.

Programs on your computer

The following free programs shall be installed on your computer. I strongly recommend to follow the installation order as mentioned.

  1. PowerShell 7.x : To be downloaded from https://github.com/PowerShell/PowerShell/releases . – Python is also supported, but not explained further 😉

  2. GIT, which is required as underlying mechanism for the source control system. Available for Windows computers on https://git-scm.com/download/win .

    – Reboot your computer – 

  3. Visual Studio Code / VSCode as development environment. To be found at https://code.visualstudio.com/download

  4. Lastly the following VSCode extension as they simplify working with Azure:
    PowerShell, Azure Account, Azure Automation, Azure Resource Manager, Azure   Resources, Azure Storage, Git History, GitLens

Create an Azure DevOps Project

To keep things organized and to avoid conflicts I suggest created a dedicated project in Azure DevOps. Ensure that you select private repository.

If desired, create new repository named “Runbooks”. Click on “initialize”.

Next, GIT on your workstation needs to be initiated. Open a GIT CMD and type the following commands:


git config --global user.email "azrxyyyy@xyy.onmicrosoft.com"

git config --global user.name "FirstName LastName"

Create an Azure Automation Account

Search for the Marketplace and look for the Automation Account to proceed:

Specify the subscription, the resource group, a fitting name and the region in which the resource shall be created.

Then activate the Managed by selecting “System assigned”. – This is important to later grant permissions to Azure Resources or the M365 Graph.

Finally, the account is ready.

Connecting Azure Automation Account with Azure DevOps

In the Automation Account Settings, select Source control and click on Add.

Next, after choosing Azure DevOps confirm the grant the permission consent.

In the parameter windows, specify the Azure DevOps project previously created, a branch “main” and activate both option for Runbook publications etc.

Last, the connection is established.

Evolve from Scheduled Tasks to Azure Automation or Function Apps

Scheduled Tasks have been around since the early days of Windows Server. The task scheduler is the inbuilt component used to plan and execute jobs. Typically, System administrators use them to automate reoccurring activities which are defined in scripts.

While Scheduled Tasks are robust and easy to use, they have a couple of shortcomings.

This blog explains the advantages of Azure Automation or Function App over Scheduled tasks.

Looking on Scheduled Tasks and their opponents in Azure

Storage / Location

Execution


Redundancy

Change Tracking / Versioning

Monitoring

Security

Costs

Round Up

To conclude, Azure Runbooks and Function Apps outperform the traditional Scheduled Tasks in many aspects.